Elderflower champagne
It’s
basically prison hooch for people who read Country Life
Oh sure, Elderflower champagne has this noble, rustic pedigree. But at bottom you're fermenting sugar water in a bucket and flavouring it with something you nicked from a hedge. Foraged. Whatever.
Classy or no, it's delicious.
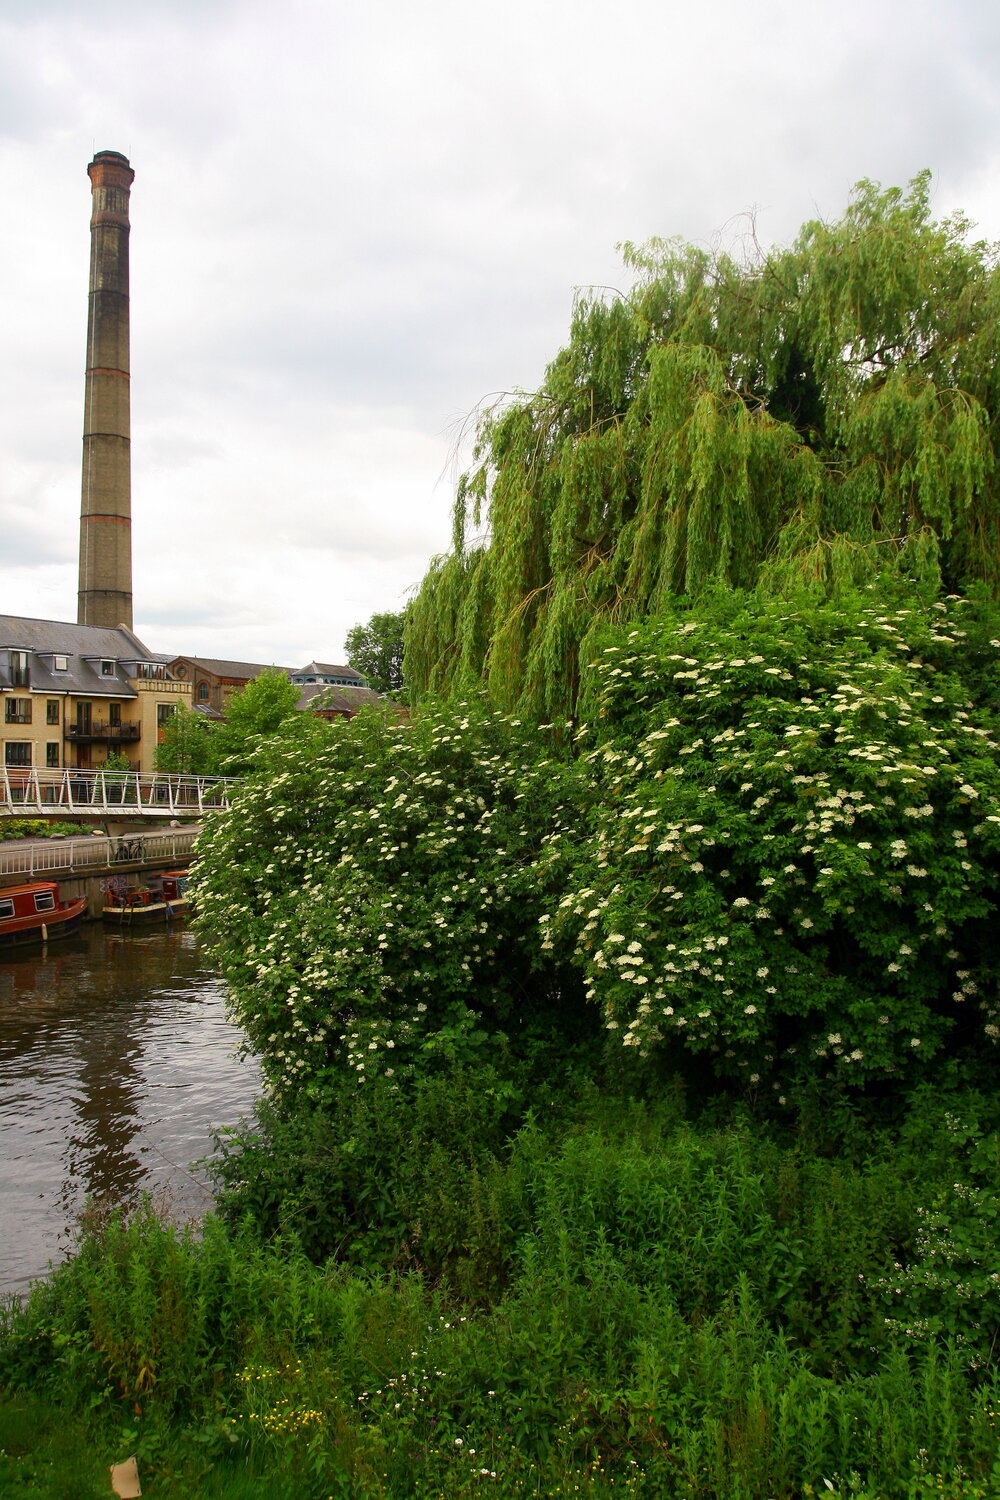
Elderflowers are wonderfully pungent, and this time of year the Cambridge river banks are full of their scent. I can't resist making buckets of this stuff - bottling away a little of that summer for later in the year. Also, did I mention the prison hooch? You can get utterly wankered for a tenner, and feel like Hugh Fearnley-Whittingstall while you do it.
This is the recipe for Elderflower Fizz I've been making for the last few years. It works, and it probably won't explode.
Update: I've had some issues with the latest batch of this recipe coming out far too dry, so it may need a little work.
Ingredients:
Elderflower Champagne ingredients
Elderflowers, 30-40 heads (see second note below)
Sugar, 4.5 kg
Lemons, 8 (6 if they're huge)
Ginger, about 10g, (a few thick slices)
Sparkling wine yeast, 1 pack (usually 5g)
Water, 21L
Yeast nutrient, about 1tsp
Makes about 20L of fizz, at something around 9% by volume, for around a tenner.
7kg of sugar in 20L would get you to about 13%, but it might taste a bit thin, and will take longer. Plus, I already feel weird buying a 5 kilo bag of sugar.
For brewing supplies locally, I recommend Cambridge Homebrew (Chesterton, ish), recently opened and very helpful. Cutlack's also stock brewing gear.
Online, either Brew UK or Hop & Grape.
Instructions:
First, pick your elderflowers, and sterilise your equipment. There's a note about this below, but basically you want to make sure your fermenting vessel is bloody clean. I leave mine soaking in VWP while I go out to pick the flowers, then rinse thoroughly when I get back.
Initial fermentation
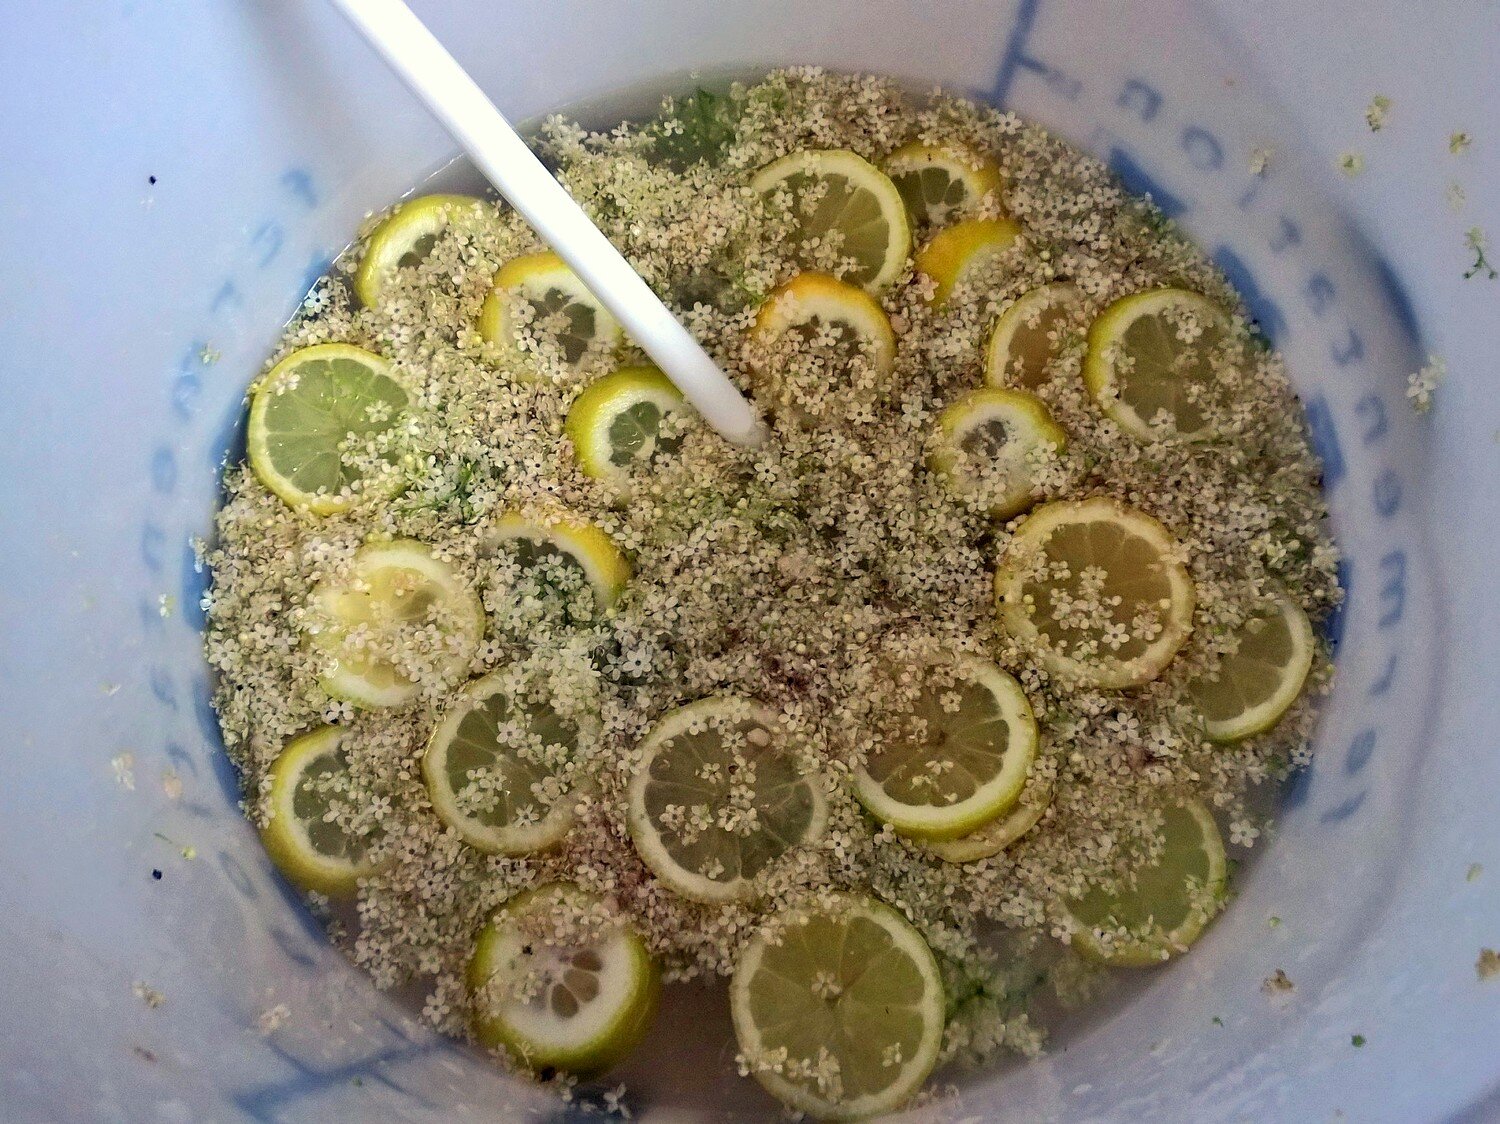
We only want the flowers, so pick off most of the stems. I do this over the fermenting bucket, using a fork. Just running the sprigs through the tines will get rid of most of the unwanted greenery. Don't be too fastidious about this, or it'll take forever. Into your bucket of flowers, add the sugar. Mix, and cover the bucket for an hour or two, to let the flavours absorb. Activate the yeast if necessary. This usually means whisking it into a little sugary water and letting it stand for a bit, so it gets going and starts to replicate.
Pour over a litre or two of warm water (you can use boiling, see note below) and mix to get the sugar dissolved. Juice the lemons into the bucket, adding slices of one. Add a few thick slices of ginger, the yeast nutrient, and top up with cold water to about 21L.
I go to 21 because you can lose a litre or so when bottling.
Add the yeast, and stir everything thoroughly to get it mixed and ensure the sugar is properly dissolved. At this stage in the process (and no later stage whatsoever) it also helps to aerate the mix - the yeast likes that for its initial growth phase. So really get in there and give it a stir around.
Cover the fermenting vessel so that nothing can get in, but a little gas can get out. If yours has an air lock, that's ideal. If it's a lidded bucket, fasten it tight, then slightly break the seal at a point on the edge, so some gas can get out. We're going to evolve a lot of CO2 here.
Leave to ferment for at least two weeks.
At this point, we need to make some decisions about how much mucking about we want to do.
Bottling: quick version
After two weeks, you'll have something almost drinkable. You can take it on faith, bottle it, and leave it to finish in bottle. This is genuinely fine, but please, please, use plastic bottles. In fact, I always do for this - standard fizzy drink bottles are fine.
Syphon the fizz into sterilised bottles, making sure not to suck in the gunk that's settled to the bottom of the fermenter. Seal the bottles, and store them for at least one more week. This is so that fermentation can continue in-bottle and carbonate the drink.
Keep an eye on them - there can be quite a lot of fermentation still to do, so as the bottles swell up, just twist the caps to release a little gas, and seal again. In fact, it can't hurt to do this every couple of days for the first week.
After 1-2 weeks, you'll have something fizzy and delicious. The longer you leave it, the less sweet it will be, and any that makes it to a ripe old age could be quite tart and dry.
Whatever you do, it won't clear completely, and there'll be a little sediment in the bottles, so be careful when pouring.
Bottling: long-winded version
Hydrometer
The alternative is to let more of the fermentation almost finish in the bucket, and bottle when it's closer to done. This gives you more control. It's then safer to use glass bottles, too, although I still don't.
To do this you'll need a hydrometer to measure the "gravity". It's basically a density measurement, a proxy for the amount of sugar still in solution. As the yeast converts the sugar to alcohol and carbon dioxide, the density drops back down to something closer to the density of water.
A light 4.5% beer, for example, starts around 1.050 and finishes a bit under 1.010.
Take a baseline reading when you start, it should be something like 1.090.
You read the hydrometer by dropping it into a liquid, and reading from the bottom of the meniscus where it floats. (Better guide here)
Check it again, once per week, until it's down to around 1.010. This will probably take 4 weeks, less if it's warm. Once it's at the 1.010 point, check it again a couple of days later - there should be no or little change. Fermentation should now be almost done, and you can bottle. I'd still recommend using plastics, and carefully letting out a little gas now and then.
If after a couple of tests the gravity reading hasn't changed, and the reading is higher than 1.010, then fermentation has probably stopped or slowed right down for some other reason. You're probably ok to bottle if there's been no change in the reading over a 5 day period. Theoretically, the higher it stops, the more sugar you have left. If fermentation has just really slowed, this could mean heavy carbonation, so watch out.
If your final reading has gone to (or below) 1.010, and been steady for some time, you may not get much bottle carbonation at all. This is unlikely, but will happen eventually. Bottle anyway for a light carbonation, or dissolve 100g of sugar in a little water, and stir this gently into the mix an hour or so before bottling. That will bring a finished 20L brew up to lager-ish carbonation over the course of a week or so.
Notes
Making elderflower fizz is quite simple, but I've tried to give a bit of context here, and answer some of the questions I had initially.If you have brewing questions, or just want to learn a bit more, I really recommend John J Palmer's How to Brew
Equipment - what do you need?
I brew beer at home, so I already have more than enough kit for this.You can make do quite easily, but I'd really recommend having a fermenting bin with a tap at the bottom, and a hydrometer. Brew UK will sell you a barebones kit for about £25. That's with a syphon rather than a tap, but it's fine.
Alternatively, you could use any large bucket with a lid (or a secure covering of some kind, I've seen recipes that use muslin) or buy a bunch of 5L bottles of mineral water and faff about in batches. If you don't have (or want) a hydrometer, the workaround is "waiting and trust".
20L is a big ask for things you might just have lying around. Don't worry, the recipe scales pretty directly. 5L of water, 10 heads of elderflowers, 1.1kg sugar, 3 lemons, a bit of ginger and some yeast will still see you right.
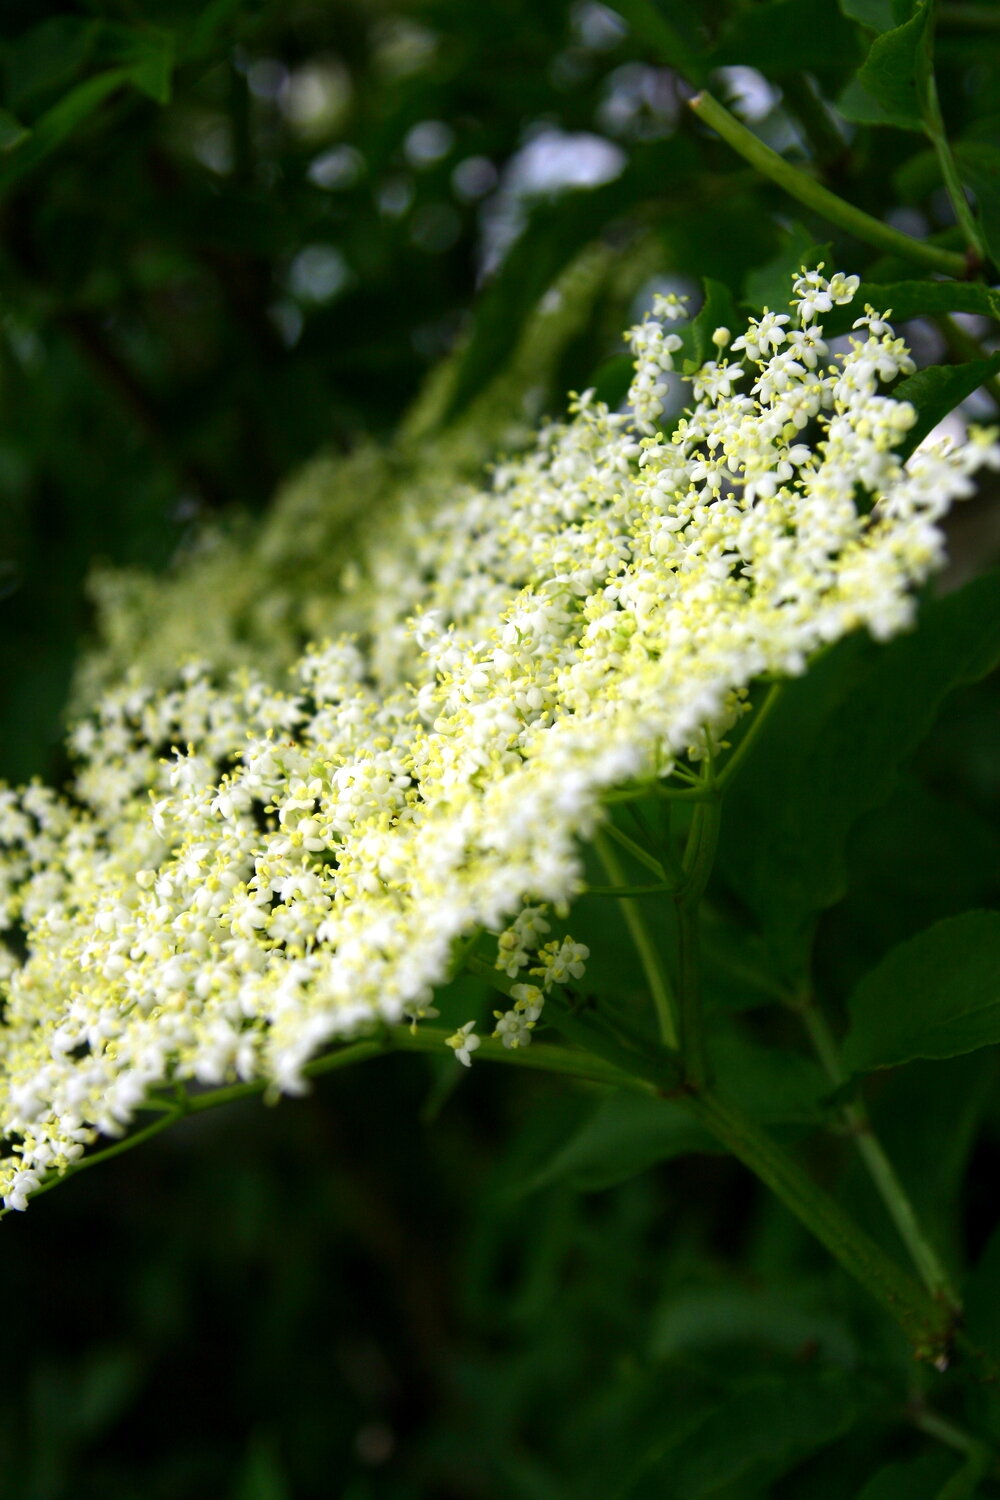
Elderflowers - what and when to pick
The elderflower season is roughly mid-May to late July. What used to be the British summer, before we fucked the climate. If you can, pick them early on a warm, dry day. Look for the just off-white ones. Not too bright white, not too creamy. But if in doubt, just those with the most powerful scent. Lots of the flavour is in the pollen. In Cambridge, the river banks are lousy with them.
40 good heads of elderflower in about 20 Litres makes a very strongly flavoured drink. I like that, you may not. If you want to dial it down, I really still wouldn't go under 20. Weaker recipes seem to weigh in around 1 head per litre. And sure "a head" isn't a precise unit, but when you're out collecting them you'll find that by and large the variance isn't massive for the nice thick ripe ones.
Snip them off near the base of the bloom. And watch out for nettles, the two plants seem to cohabit rather nicely.
Sanitation - should I rinse the elderflowers?
Brewing is just selectively letting fruit go off in a bucket. We sterilise and rinse, because we only want the good stuff to grow. Infection is one of the most common causes of off flavour and general fail in home brewing. Make sure your bottles, fermenting vessel, and any other equipment that will touch the brew are well cleaned. I use VWP - it's inexpensive and readily available. I'd guess household bleach would do at a pinch. Either way, rinse thoroughly.
There's a tension here, though. We're sterilising our gear, but we've just yanked our ingredients out of a hedgerow. Is that going to be clean? Well, no. In fact, the elderflowers should carry some wild yeasts that will make the flavour more interesting, so we don't really want to wash them. Moreover, the pollen is where quite a bit of the flavour is, so it'd be a shame to lose that. With 40 heads, you've got a bit of a buffer, and can rinse if you're feeling fastidious, but I don't. Pick off any obvious manky bits, and try not to gather any from low enough down for a dog to have made friends with, and you ought to be ok.
Some recipes pour boiling water over the elderflower sugar mix. This might be enough to kill anything nasty (and the wild yeast), but I worry about it impacting the flavour. It probably won't, and I'm probably worrying over nothing.
Yeast nutrient - why?
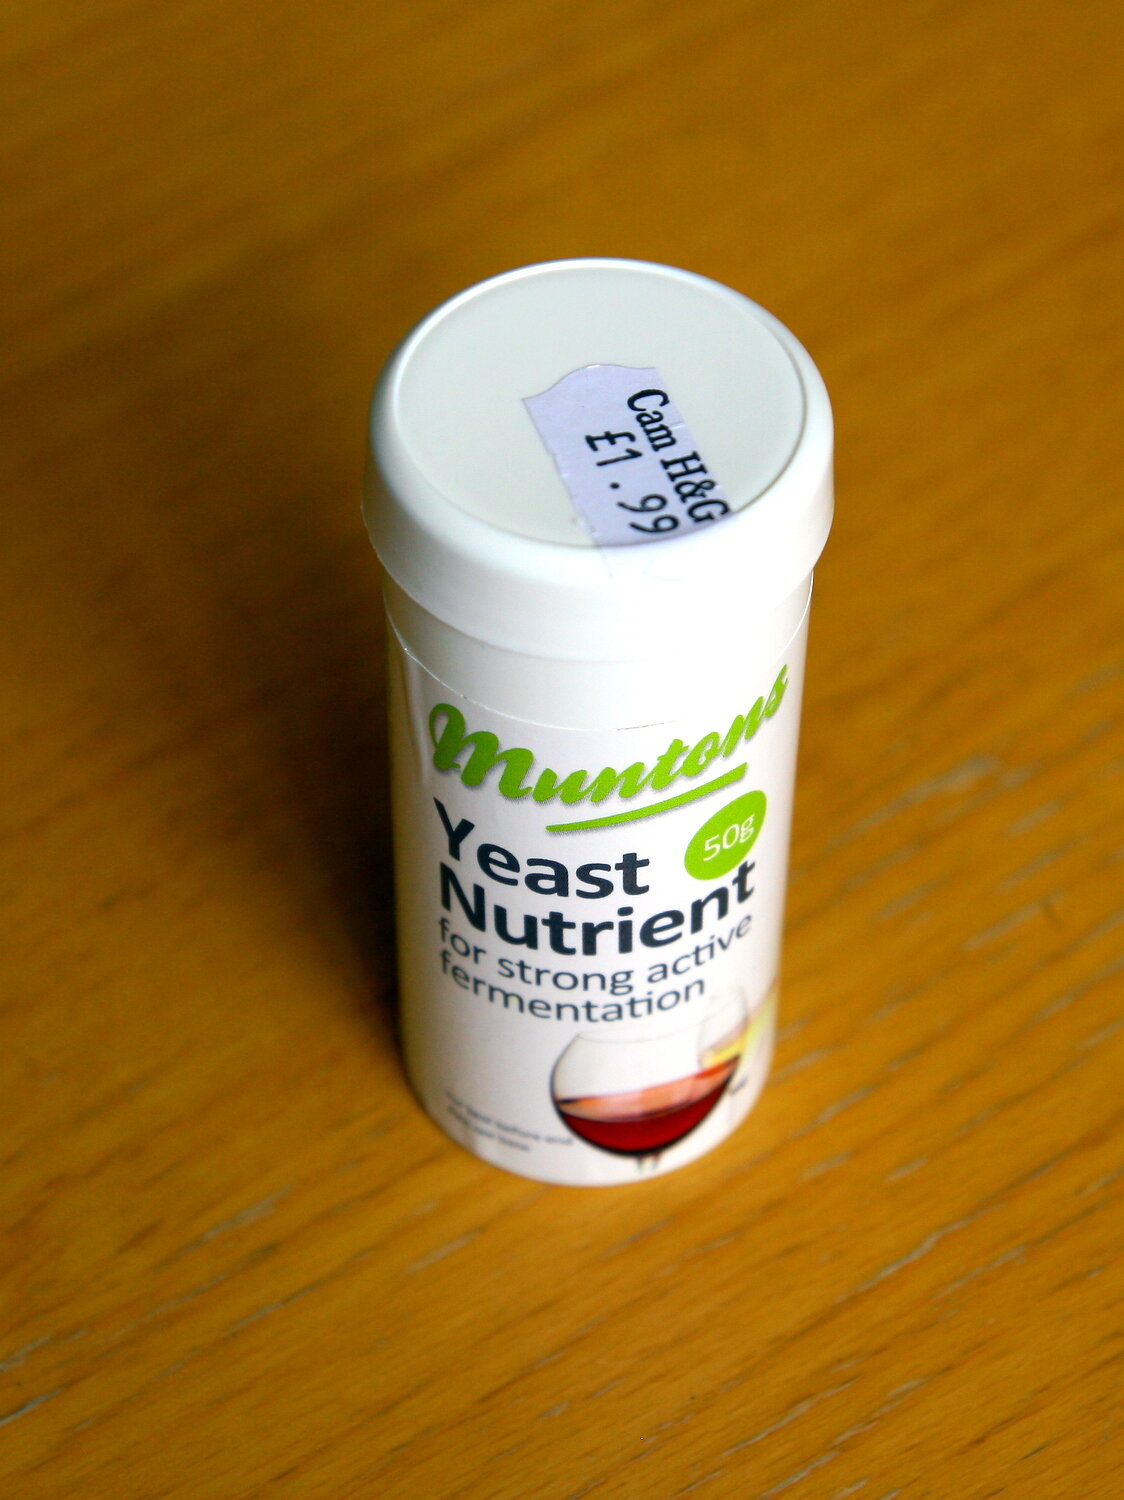
Any brewing yeast should be fine, and is readily available from hardware stores. Champagne or sparkling wine yeasts have higher alcohol tolerance, and ferment quite aggressively. Because it replicates hard and fast early on, it can need a helping hand or it'll putter out.
We're fermenting here with entirely refined sugars, too. That's great for cheap alcohol production, but not fantastic at feeding yeast. Compared to a brewing mash or grape juice it's low on trace minerals, amino acids, and other things that keep yeast alive and replicating nicely. Purely refined-sugar brews are liable to stall or stop before all the sugar is gone, and the lemons here are only providing so much of a helping hand.
A small tub of yeast nutrient will set you back a couple of quid and last a while. Alternatively, and for a more interesting flavour: chuck in some fruit or a litre of grape juice. Mead brewers sometime use raisins. You could probably use a tablespoon of marmite, too, given that's rich yeast gunk. But fuck knows what it would do to the colour.
If fermentation stalls just before all the sugar is gone, it can be a blessing in disguise: a little residual sweetness that won't fade over time is actually pleasant. I had this happen with a 10L batch where I forgot to add nutrient, but I've not tried replicating the mistake.